Vada Pav - The Bombay Burger
- M Smith
- Mar 30, 2021
- 4 min read


This popular vegetarian dish, native to India, consists of a bread bun - the pav, stuffed with a deep-fried potato - the vada and served with beautiful, spicy and sweet chutneys. The Vada Pav originated in Mumbai, and according to my friend Nehal it was a popular school lunch when he was in high school.
They say that in 1966 a man named Ashok Vaidya opened up the very first vada pav stall across from a train station where hundreds of thousands of hungry workers passed through every day. The vada pav was cheap, carb-heavy and an instant hit with the workers.
This sandwich is so famous that McDonald’s tried to recreate the vada pav; however, not to the success of the many vendors selling their wares on the street. Every vendor has their own recipe, their own chutneys, their own combination of chillies that make each vada pav unique.
Yes, this recipe doesn’t contain any meat but trust me, you won’t miss it. Cameron ate 3 vada pavs in quick succession before even realizing it was a vegetarian dish.
My tribute to the vada pav contains a few variations from the original recipe. I can’t eat cilantro. It tastes like soap to me. The smallest amount of it in my food ruins the entire dish. I had to be creative with the green chutney that is usually served with this dish. Enter green onion and avocado! I didn’t take pictures of me creating the chutney because I wasn’t sure how it would turn out. Well, it was delicious. My friend Bency loved it and was blown away by the fact that it was avocado! The other substitution I make is removing the mustard seeds. It’s not a preference; it’s actually an allergy!
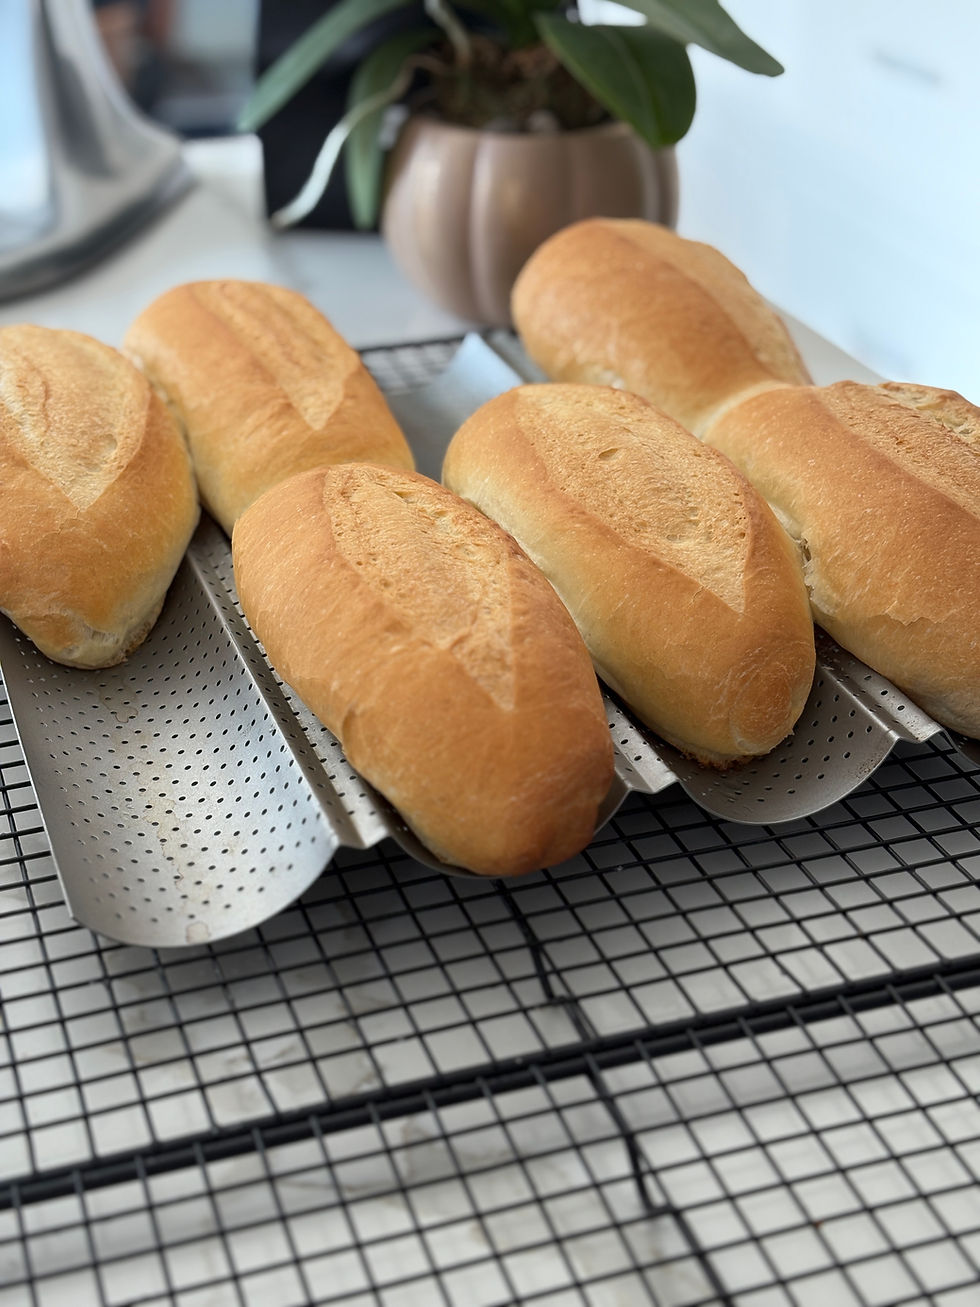
Tip: make your pav the day before and store it in a Tupperware or plastic bag to keep it fresh. Or wake up early and make the pav. I like the bread the day of, and it takes about 3-4 hours depending on the bread’s proving.
I serve my vada pav with dry garlic chutney, tamarind sauce, my avocado green chilli chutney and tomato chutney. Do not make all the chutneys yourself. Go to your local Indian grocer and buy the chutneys. It will take all day to make the sauces, and I was exhausted by the end of the day.
Enjoy!
Ingredients
8 medium yellow potatoes
6 cloves of garlic minced
2 tablespoon of minced ginger
8 curry leaves
2 green chillies (more if you want it spicy)
3 green onions chopped
1 ½ teaspoons of turmeric
2 tablespoons of vegetable oil for cooking
Vegetable oil for frying

Batter
2 cups of chickpea flour (Besan)
1 tablespoon of turmeric
1 teaspoon of salt
1 ¾ cups of water
2 tablespoon of potato starch dissolved in water
Instructions
Peel and boil the potatoes until tender. Drain and set aside. When cool, using your hands, break the potatoes into smaller pieces.


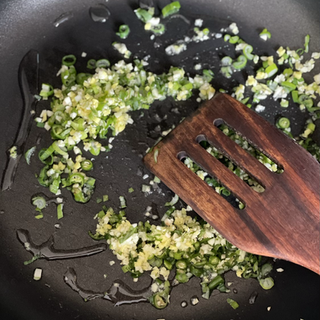
Add your oil to a large skillet, and on medium heat, gently fry your garlic, ginger, curry leaves, green chillies, and turmeric. Don’t burn the mixture, but gently fry to release the aromas.
Add your potatoes and stir until everything is incorporated - mashing the potatoes into your spice mixture. You want it to be mashed but also still have some chunks of potatoes. It adds to the texture of the vada. Transfer the mixture to a bowl, and place it in the fridge to cool.


When the potato mixture is cool, shape it into 9 balls, slightly larger than a golf ball but smaller than a baseball.
Move on to making your batter. In a large bowl, whisk your chickpea flour, turmeric, salt, water and potato starch slurry. The batter should be the same consistency as pancake batter. Not too thick, but if it’s too thin, it won’t coat the vada. Heat your oil and get ready to fry your vada.


When your oil is ready, dip your vada into your batter and fry it until lightly golden. Remove and set aside on a tray lined with a paper towel. We’re going to double fry these guys to maximize the crispy surface area.
After you double fry all your vada, use your fingers, dipped in the batter to fry some extra batter until crispy. The extra crispy bits add extra crunch to your vada pav. This is an optional step, you don’t need it, but it’s another layer of texture.


Time to assemble your vada pav. Slice your pav ¾ of the way down the middle or in half; on the bottom of the bun, add your green chutney, your tomato chutney and the dry garlic chutney. Pop in your vada, top with tamarind sauce and your extra crunchy bits and get ready to go to flavour town. LOL, sorry, I always wanted to say that. I promise I will never say it again.


I can’t wait to make this recipe again, and I hope that you all make it too. Lien is going to try and make this with her friend! We’ll post some pictures as soon as she makes it. I'll include my recipe for my green chutney in another post.


Comments